Step by Step, Splice Tape with Shim
Step by Step Instructions for use on your SMD reels to be spliced

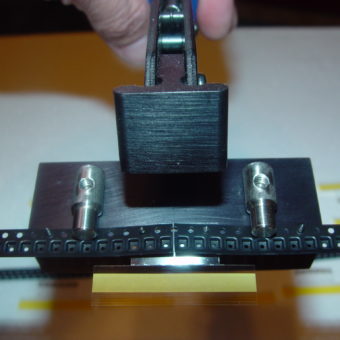
1. Place splice tape with shim on the two center alignment pins on your Tape Splicer tool with the teeth on the splice shim pointing up. Ensure the Tape Splice Tool is in the open position.
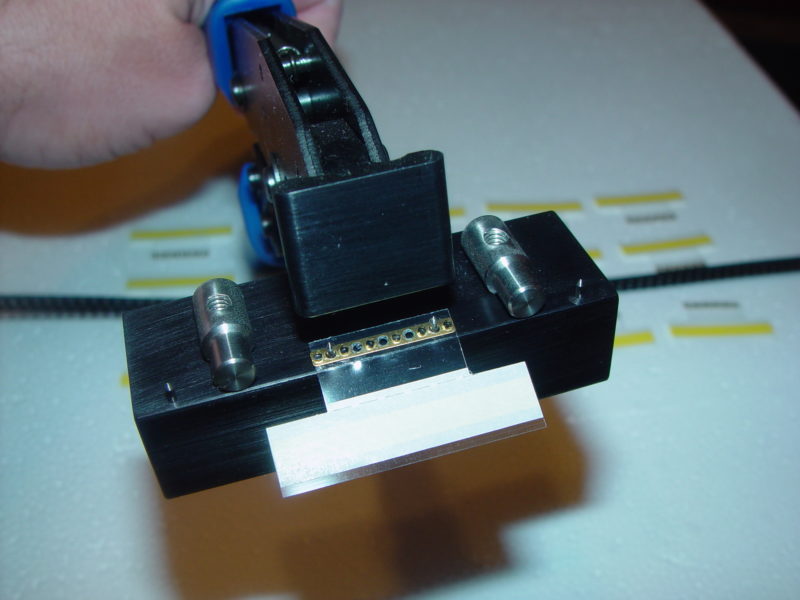
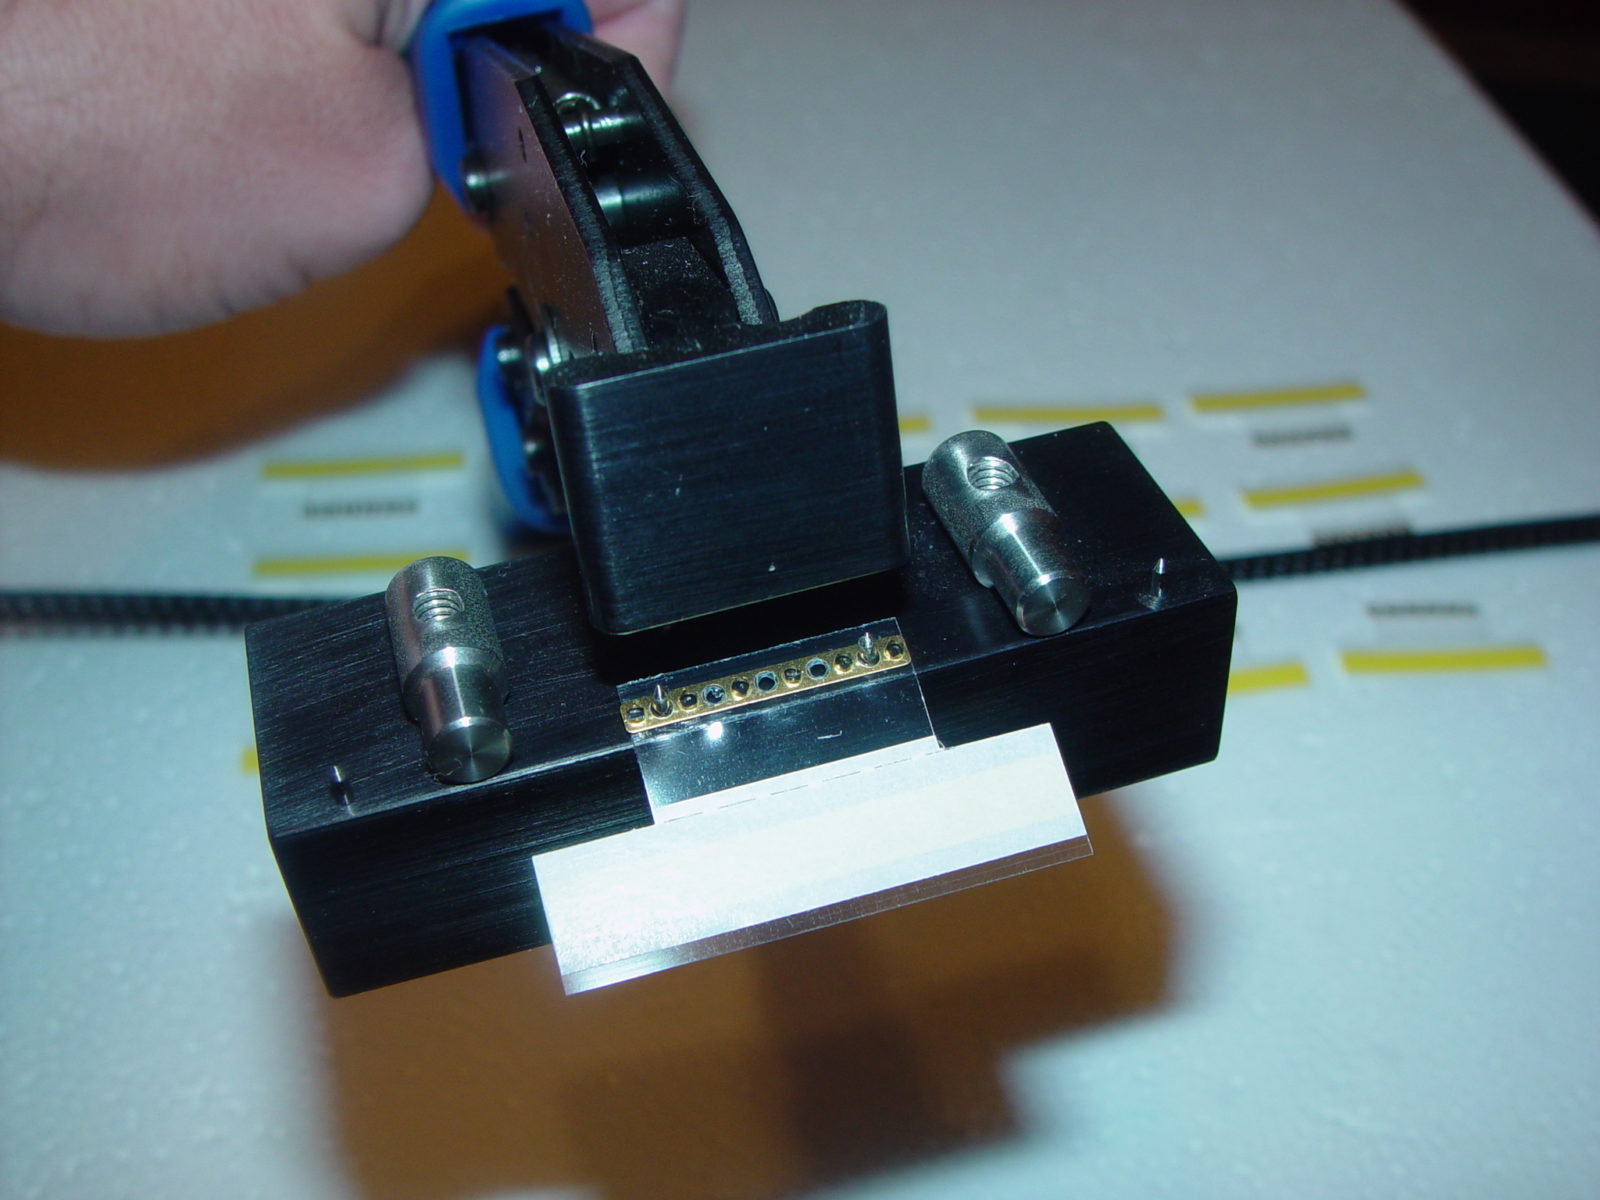
2. Place one side of the carrier tape on the alignment pins of the Tape Splice Tool as shown in both photos. nd turn the hold down to secure the carrier tape to the Tape Splice Tool.
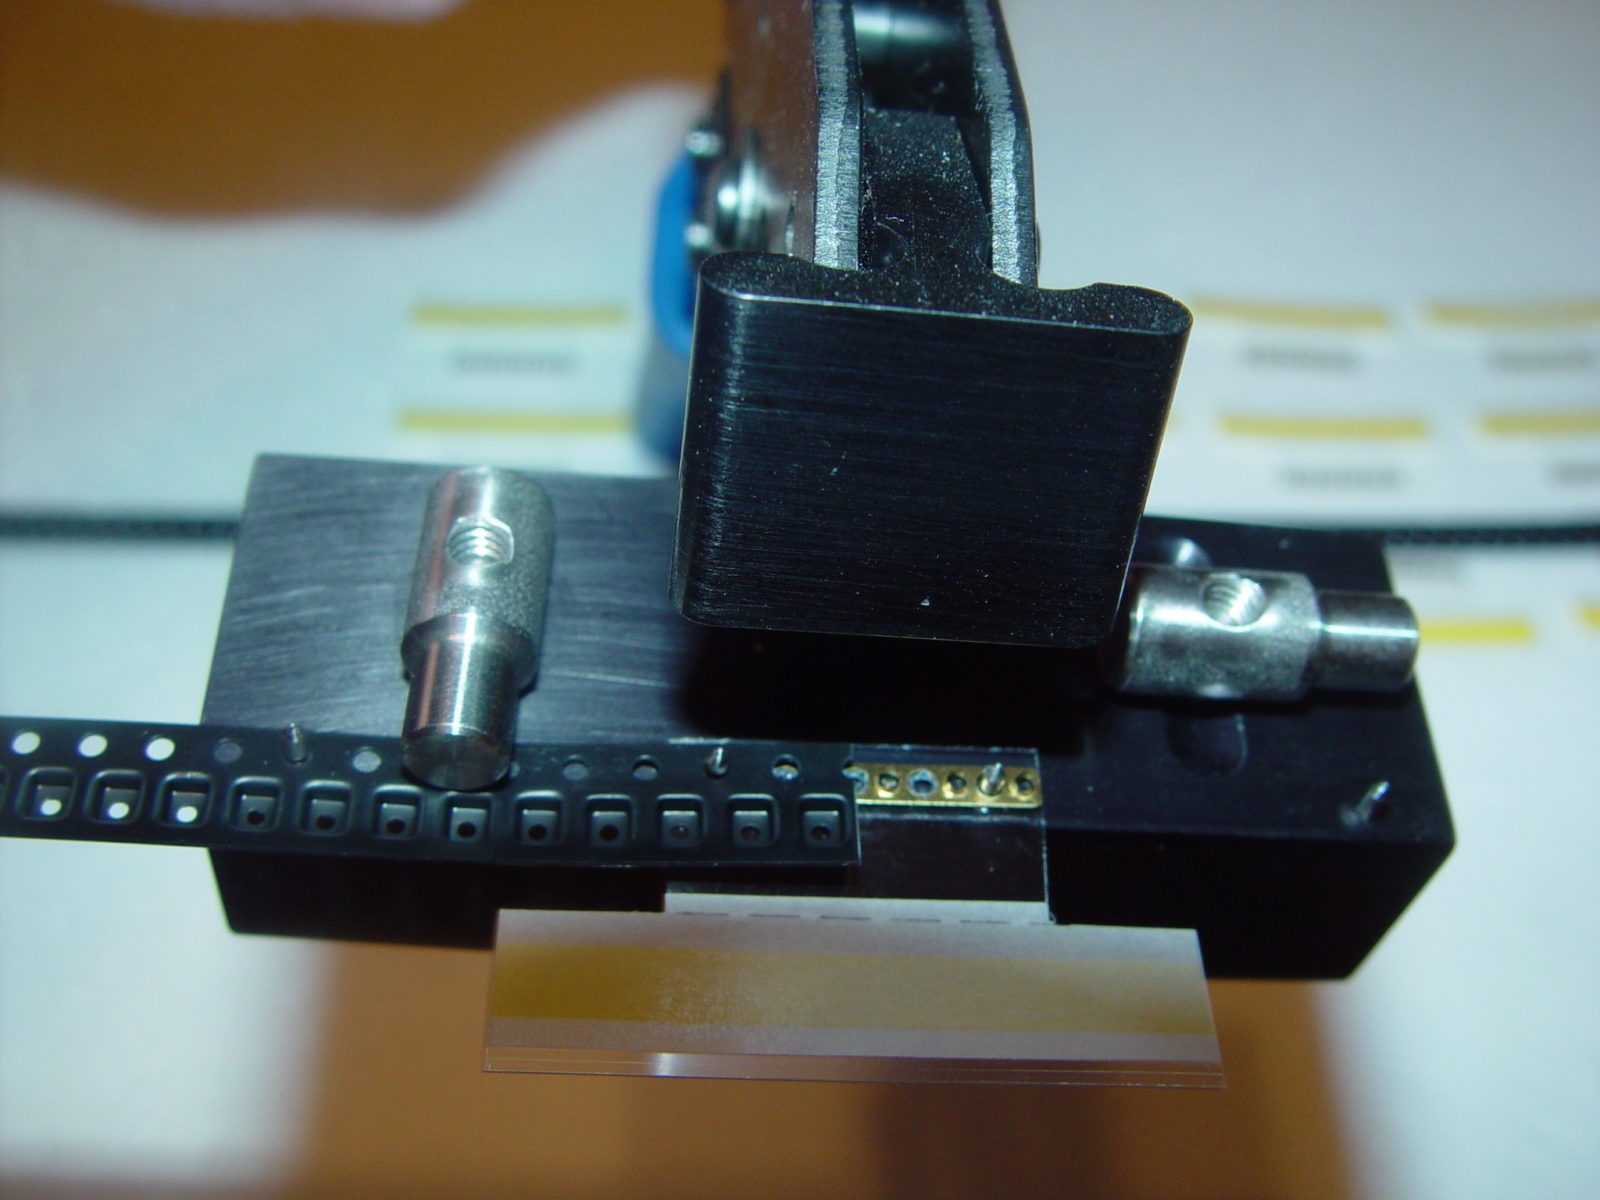
3. Place the second remaining side of carrier tape on the other 2 alignment pins and turn the hold downs to secure the carrier tape to the Tape Splice Tool.

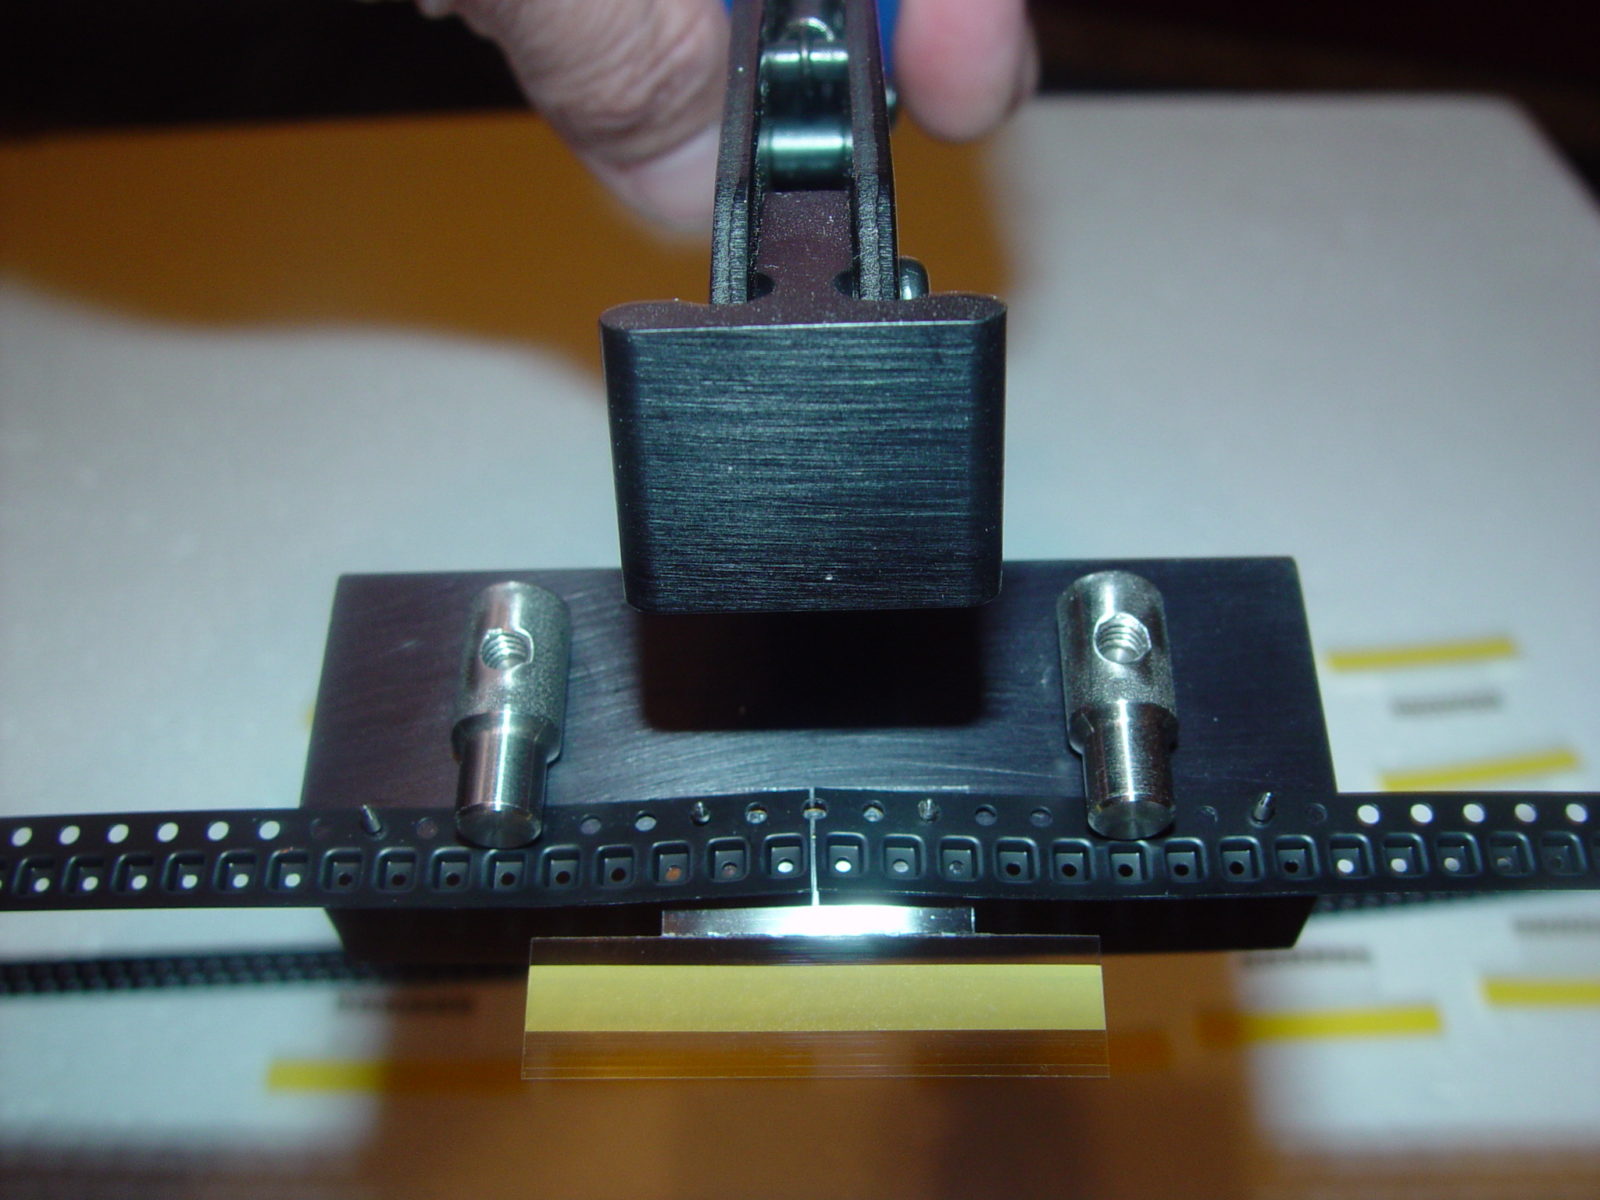
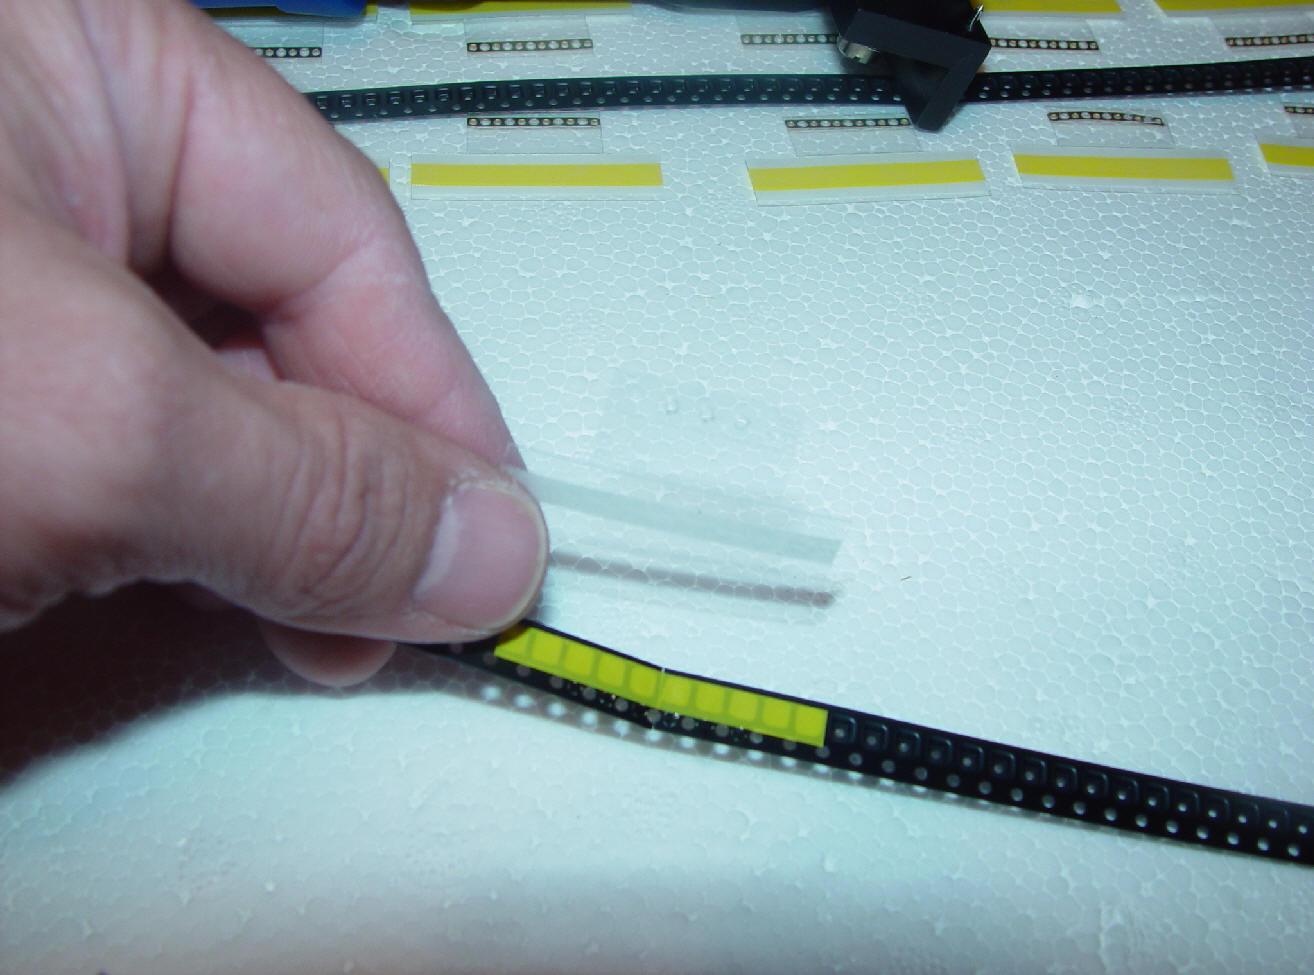
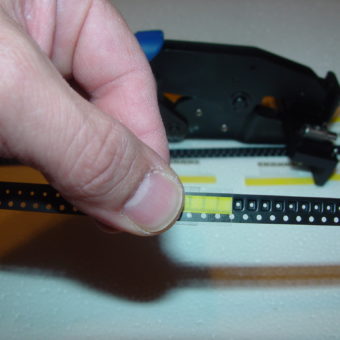
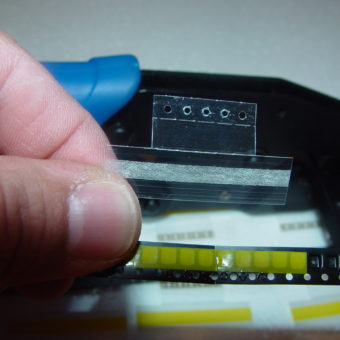
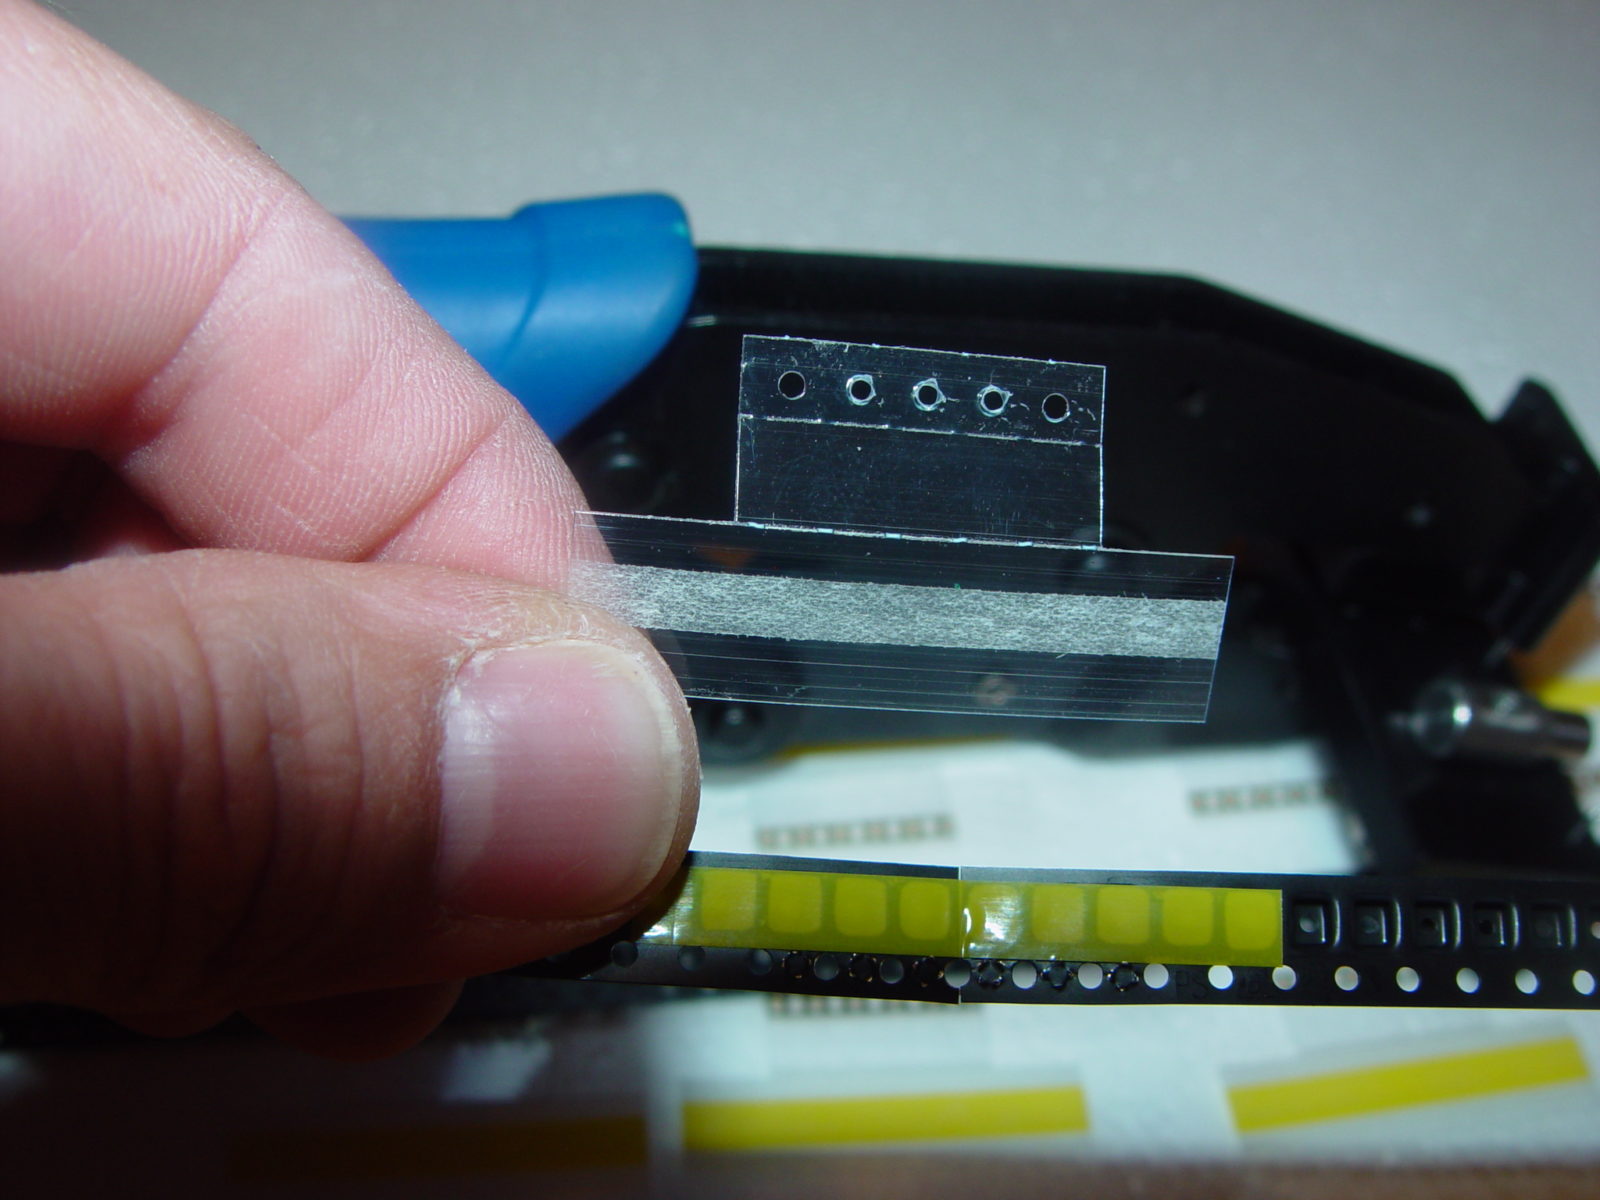
4. Remove and discard the white liner from the splice tape as shown.
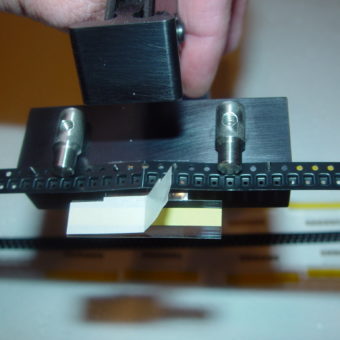
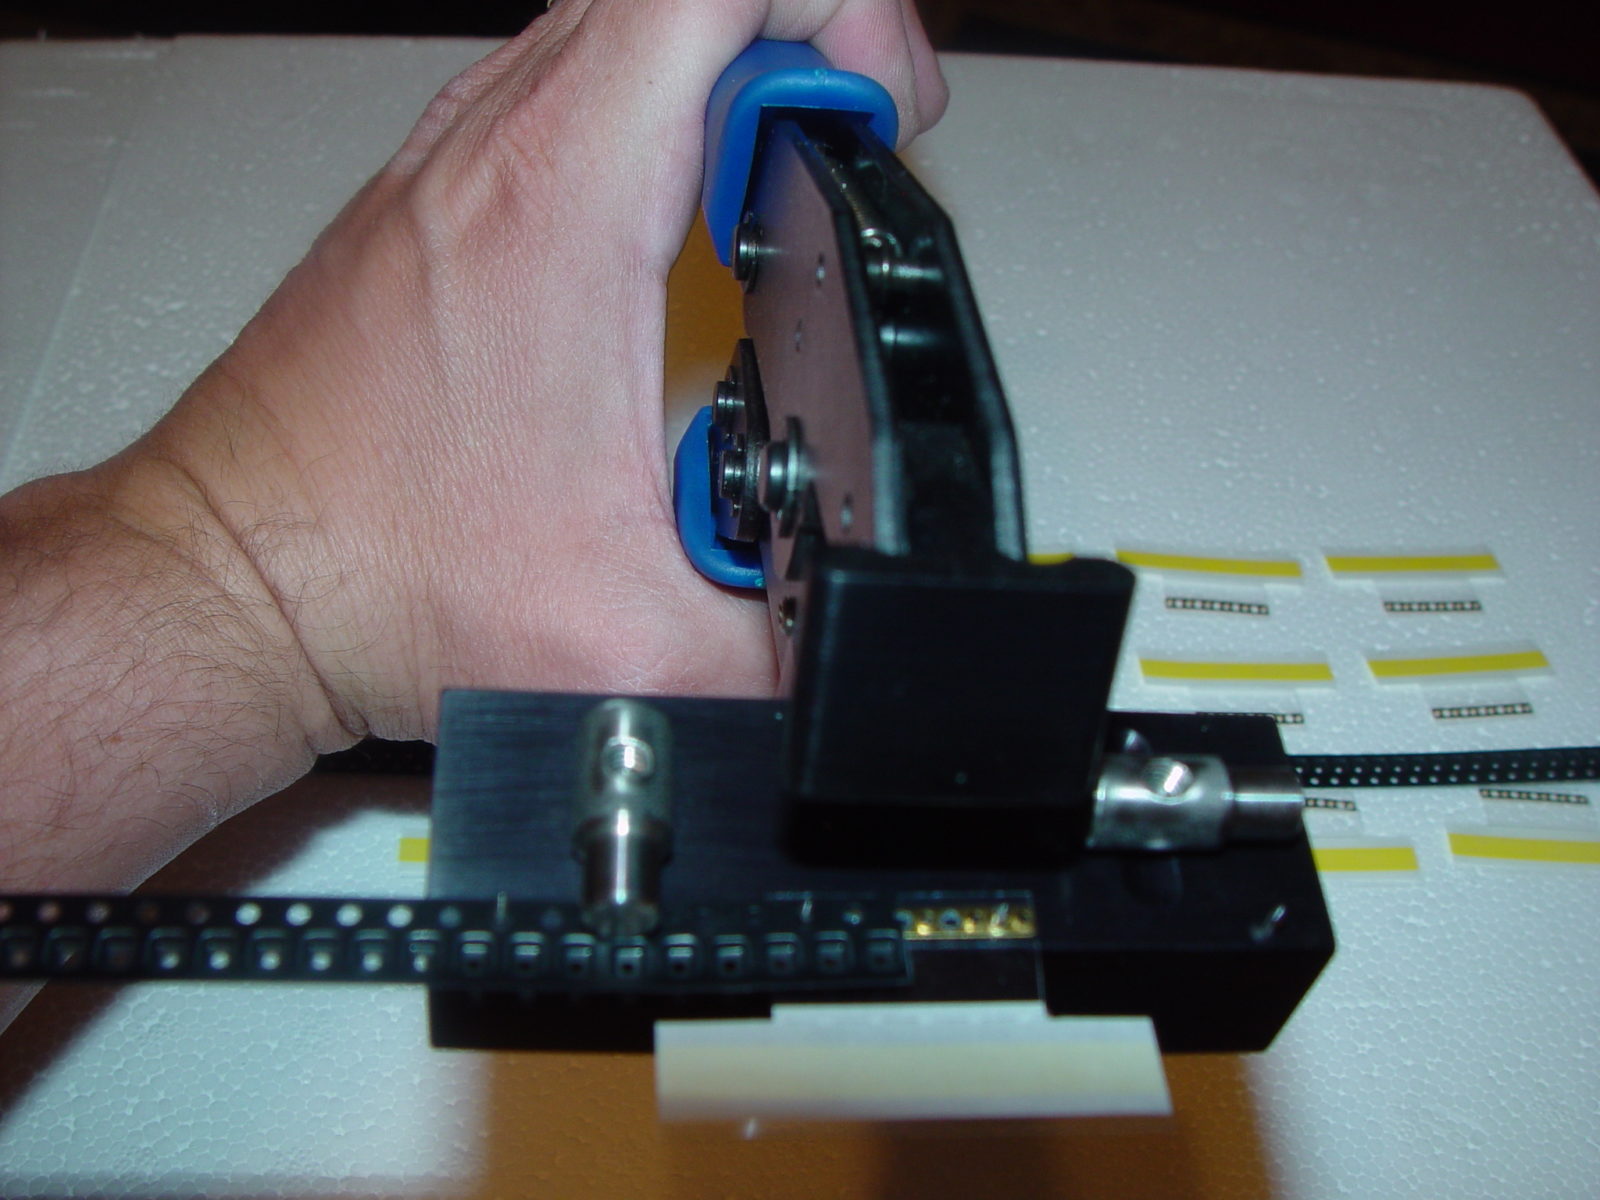
5. Crimp the Tape Splice Tool and open the Tape Splice Tool to to connect the black carrier tapes being spliced. (note: the SMD Tape Splice Tool has a auto release mechanism that allows the Tape Splice Tool to open when the splice shim is securely attached).

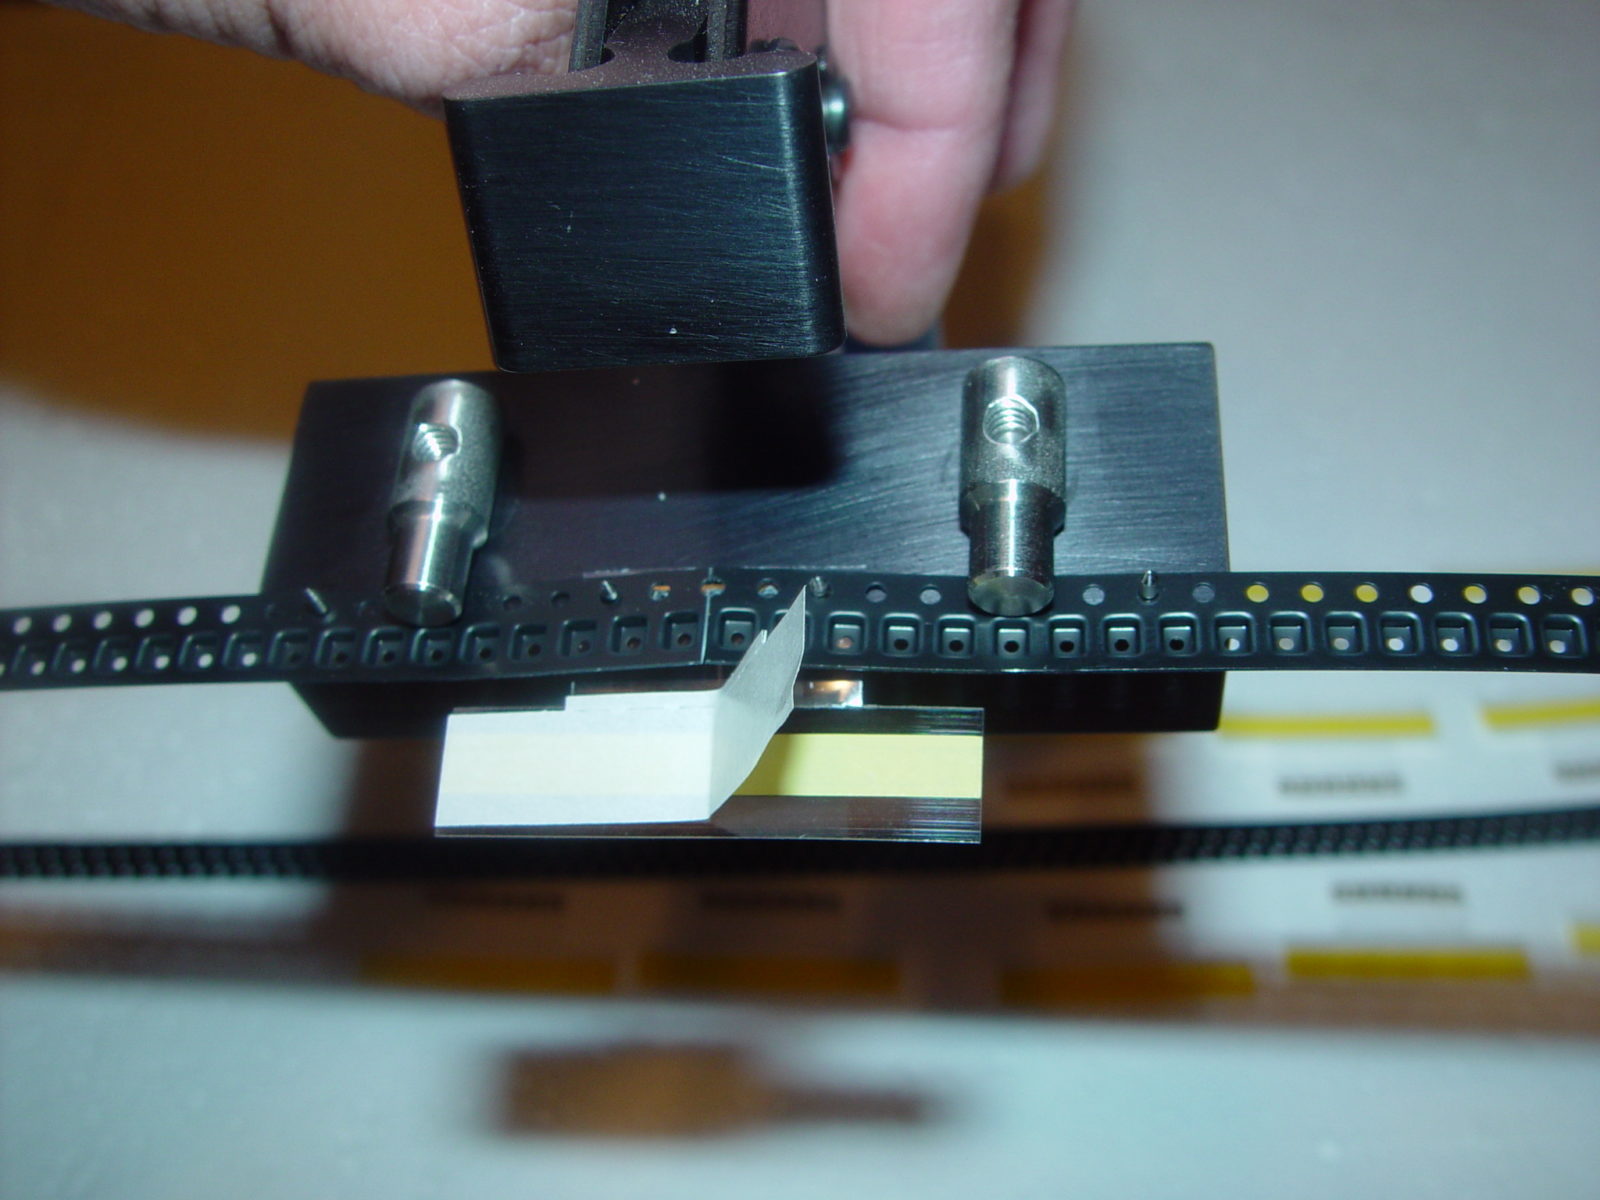
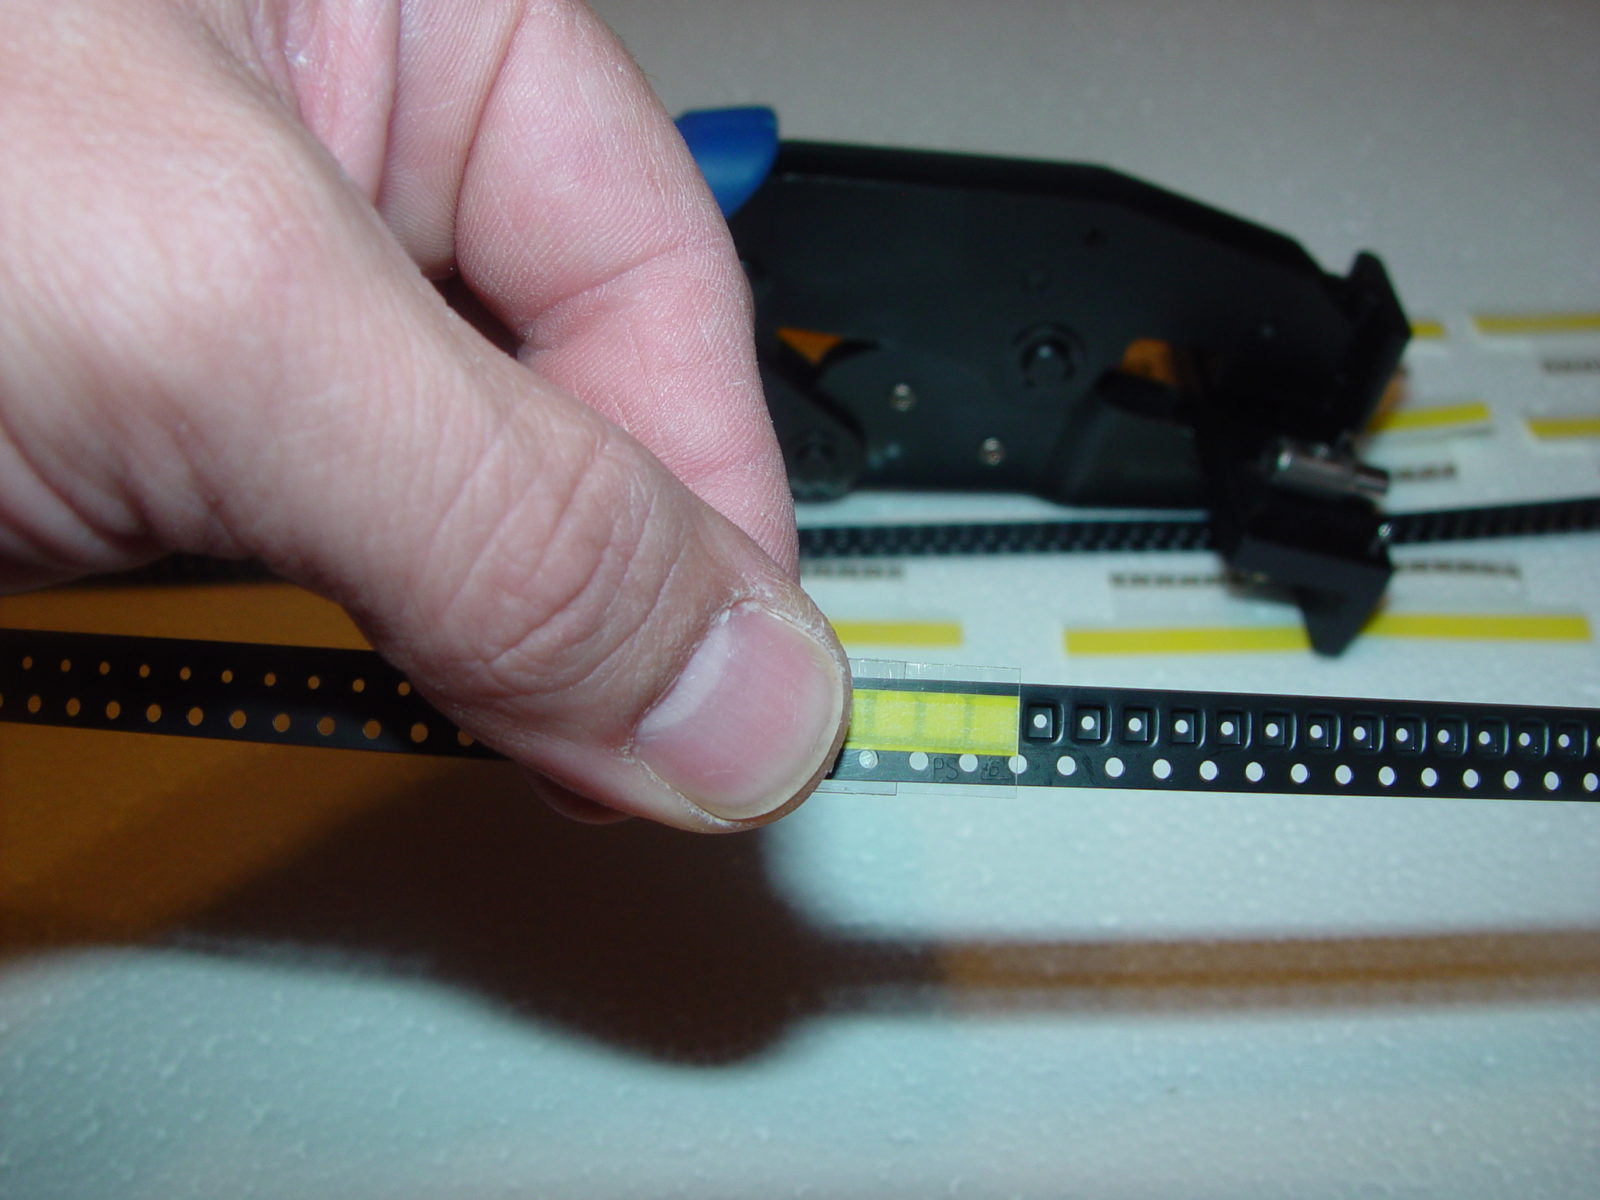
6. Remove the spliced carrier tape from the Tape Splice tool and press firmly on the yellow tape to ensure a good stick.
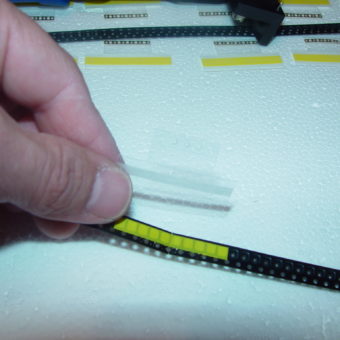
7. Remove and discard clear plastic piece to complete the splice.

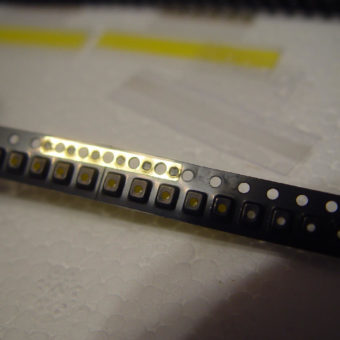
8. The splice is now ready to run through your pick and place feeders. This is a top view of the yellow Splice Tape connecting the cover tape.
9. This is the bottom view of the yellow Splice shim Tape connecting the cover tape. The splice shim is soft enough to be cut by the waste trimmer on your pick and place machine.

10. SMD Splice using the SMD Splice Tape with Splice Shim is complete in one sweep.